36V 1000A anodizing rectifier
The application range of the anodizing rectifier includes aluminum profile anodizing, aluminum products anodizing coloring, hard anodizing, etc. The anodizing power supply current range is 1A~30000A, and the Anodzing power supply voltage range is 1 V~2000V.
Specification
SPECIFICATIONS FOR GKD36-1000CVC | |||
Input AC | 380V±10% | 3 phase | 50/60Hz |
Output DC | Volt | 0~36V Adjustable | |
Current | 0~1000A Adjustable | ||
Power | 36KW | ||
Efficiency | >85% | ||
output Frequency | 40KHz fixed | ||
output ripple | 5% | ||
Protection | Short circuit protection Overheating protection Phase lack protection Input over/low voltage protection |
||
Working Condition (Temperature) |
-10℃~50℃ | Control mode | Panel control Remote control |
Net weight | 250kg | Working mode | Constant Voltage(CV) Constant Current(CC) |
Dimension(mm) | 790*910*1080mm | Cooling way |
air cooling |
36V 1000A anodizing rectifier features
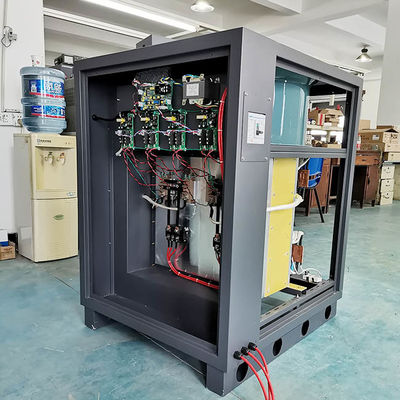
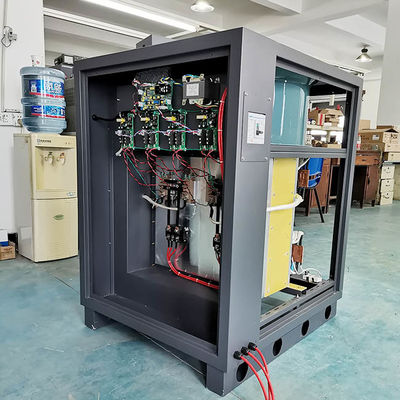
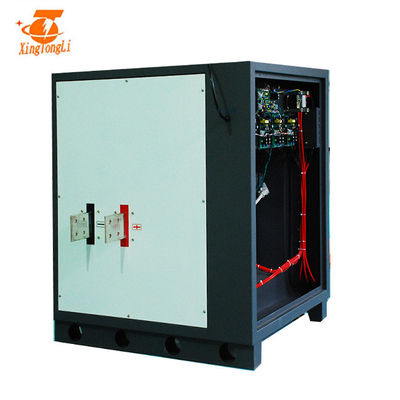
36V 1000A anodizing rectifier rectifier picture:
THE DIFFERENCE BETWEEN SCR & IGBT SWITCH RECTIFIER
1, efficiency
SCR: 70%
IGBT:90%
2,Transformer
SCR:Power frequency transformer, large volume about 200kg
IGBT:without Power frequency transformer
3,Energy saving efficiency
SCR: bad
IGBT: energy saving about 15%-30%
4, start/stop with load
SCR: can’t
IGBT: can
5,control circuit
SCR:Complex, request synchronous and difficult to integrate
IGBT:use the simple integrated circuit board, and anti-corrosion treatment completely closed.
6,constant current accuracy
SCR:<5%
IGBT:<1%
7,cooling way
SCR: water/oil/air cooling
IGBT:water/air cooling
8,work frequency
SCR:50HZ
IGBT:20KHZ
9,control way
SCR:Phase shift trigger
IGBT: PWM
10,output DC
SCR:half wave
IGBT:High density DC square wave
11,Disturbance to power grid
SCR: large,Not easy to eliminate
IGBT: small,easy to eliminate
12,size and weight
SCR: large size and heavy
IGBT: small and light weight
13,Allowable fluctuation range of input voltage
SCR: ±10%
IGBT:±15%
36V 1000A anodizing rectifier Installation
1, Placing rectifier and keep the body stability; ensure good ventilation. |
2, Checking anodizing rectifier out cover if loosing. |
3, Connecting shell to ground to prevent static electricity. |
4, Conecting the AC input wire |
5, Connecting the DC output copper bars |
6, Connecting the rectifier remote control box,if local control ,skip this step |
7, Turn on air switch, then the fan starts to rotate and the power indicator light. |
8, Clockwise rotation adjustment button, voltmeter degree increases, working indicate light lighting. |
9, Adjust knob to maximum, then the voltmeter should indicate the rated voltage, current meter indicates the load volume accordingly. |
10, Disconnect the air switch, turn off the rectifier |
Contact Us at Any Time